Country Painting, An American Tradition
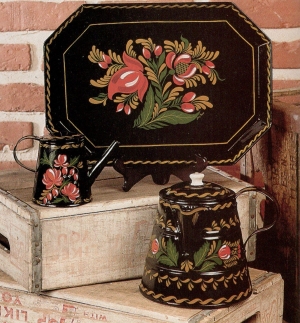
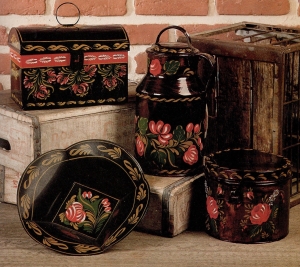
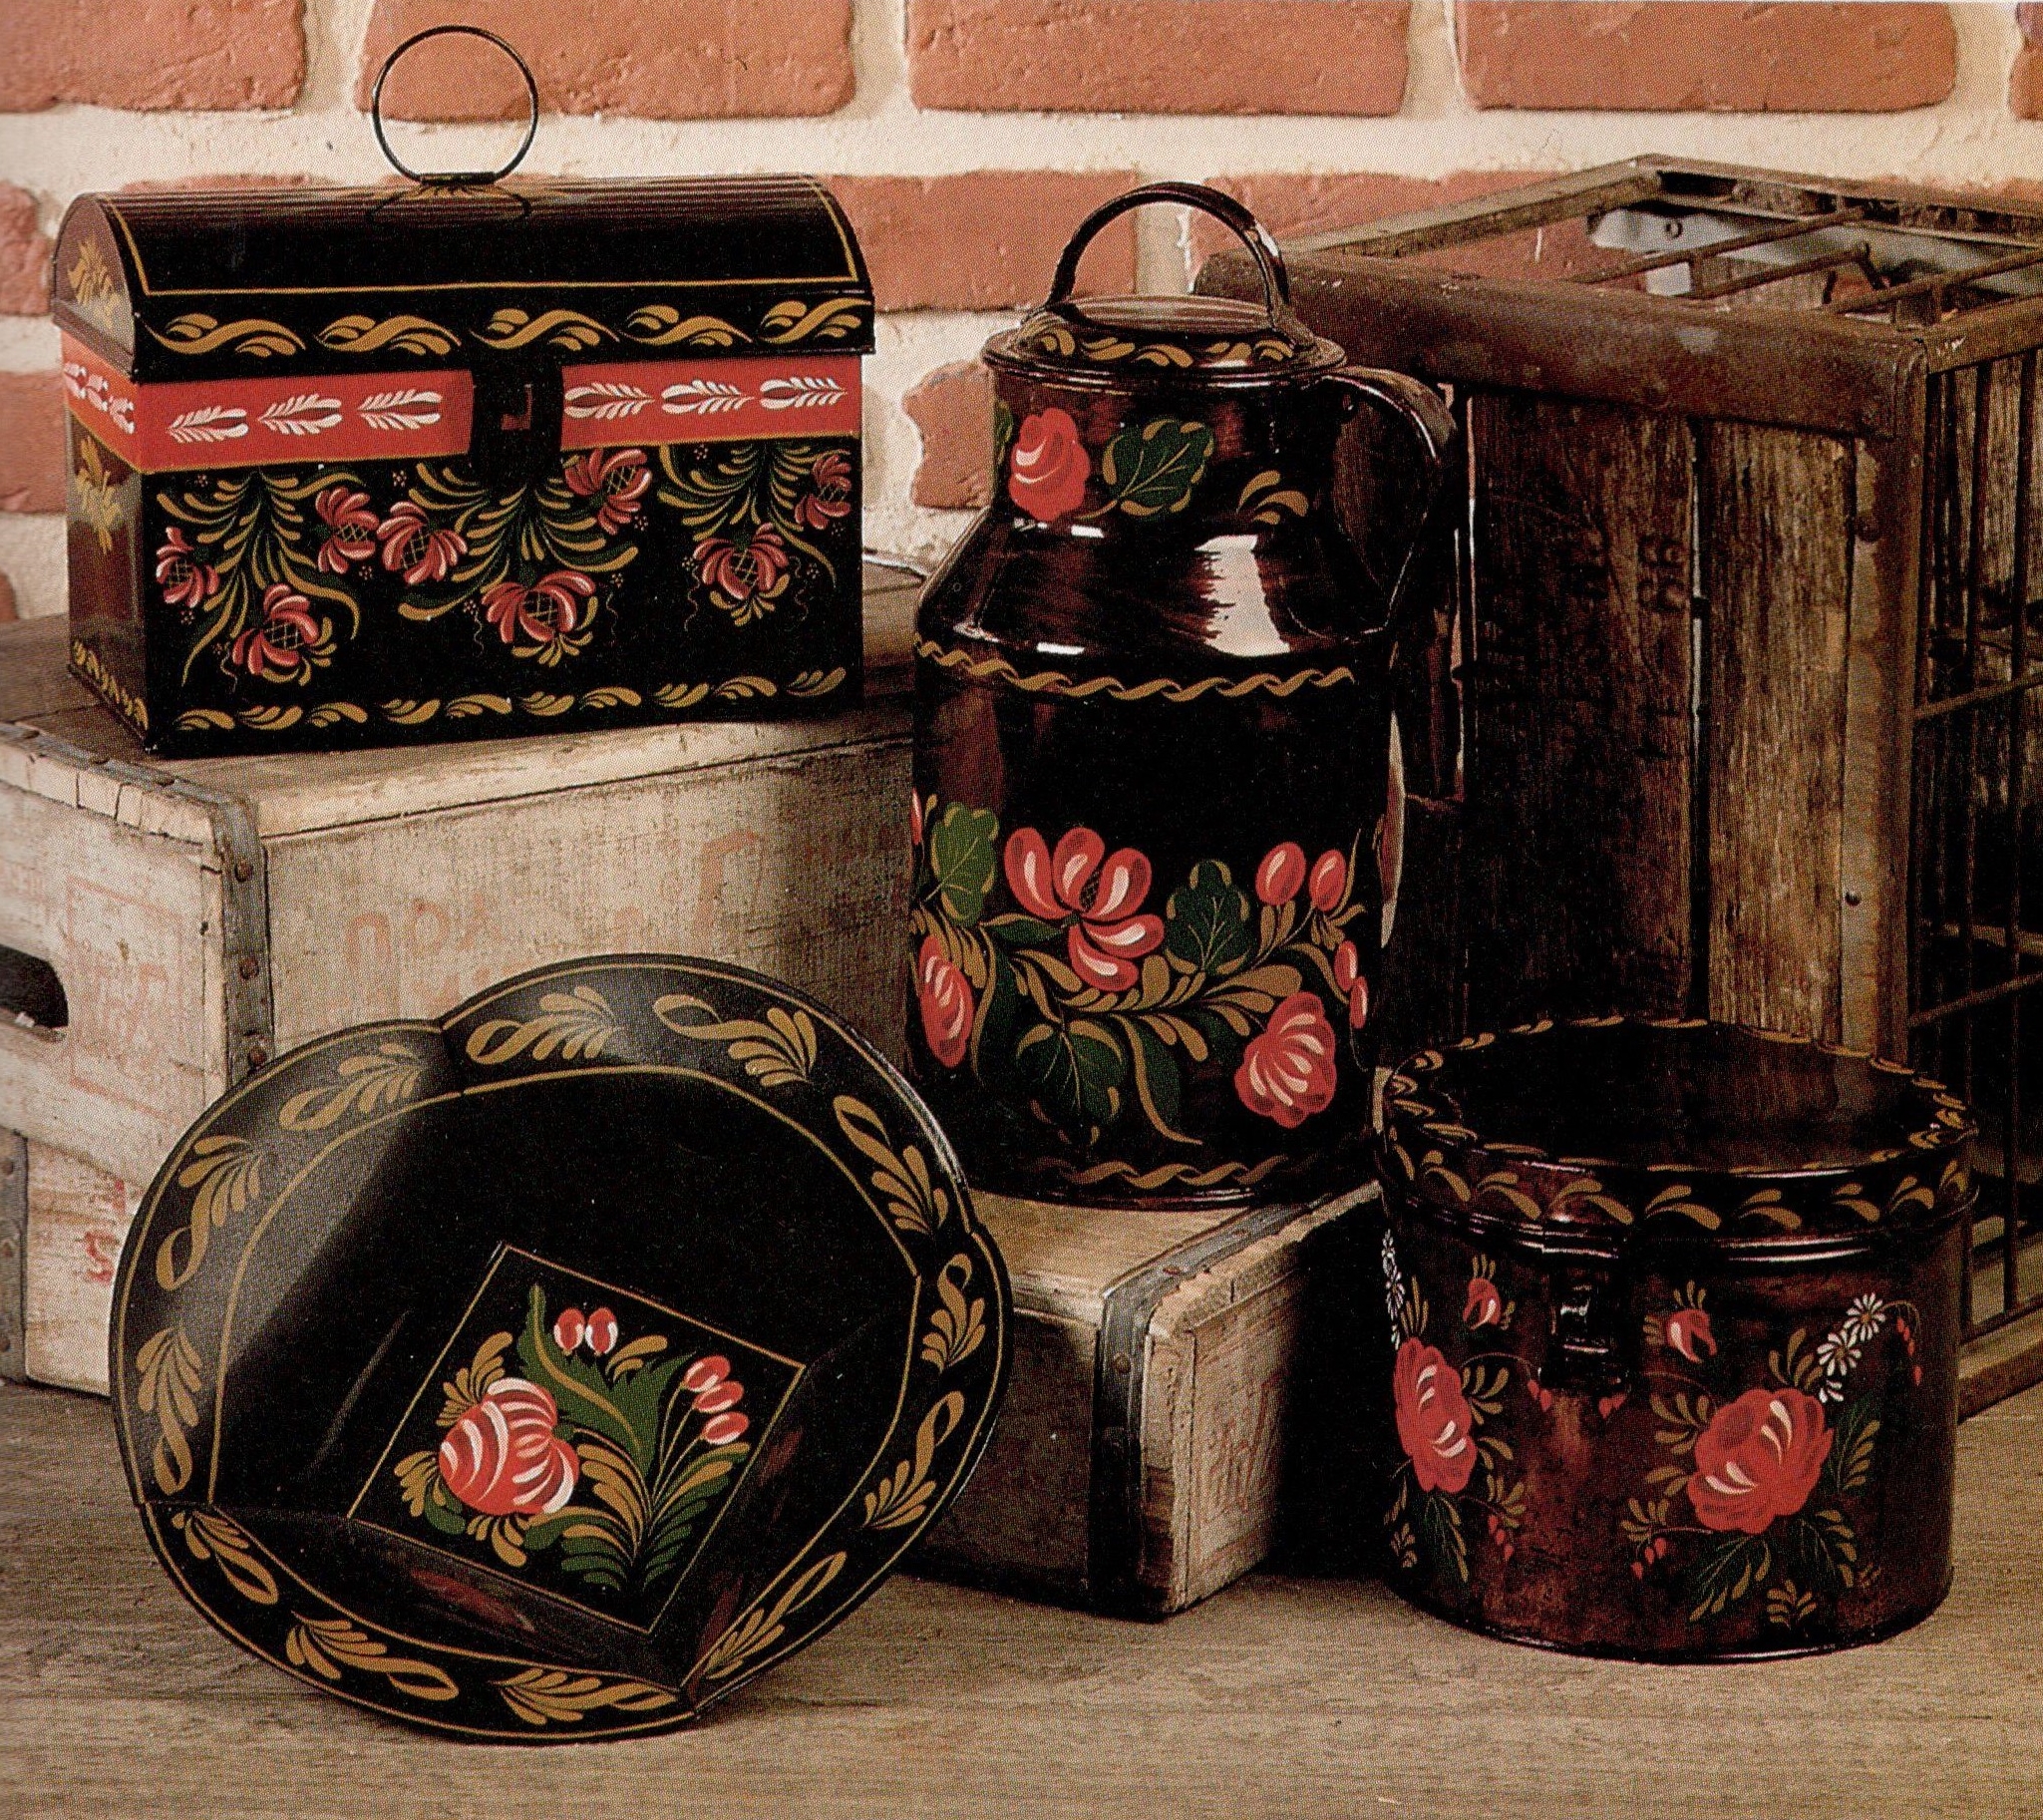
Decorative tinware is one of the earliest true American folk arts. Through the years, it has been dubbed Early American Painting, Country Painting, and Tray Painting. The most popular name seems to be Country Painting.
A bit of history
 The quest for decorative items to grace the home has always existed. The tin manufactured by two Scotch-Irish brothers, William and Edward Pattison of Berlin, Connecticut, started the decorative tin movement in 1738. Sheet tin was imported from England, made into cooking utensils, and sold door to door. The success of these products fostered progress in the methods of manufacturing, from hand pounded items to factories. The delivery method progressed from salesmen walking with sacks on their backs to specially designed horse-drawn carts. The sales routes expanded from local, westward, and even into Canada.
Decorative tinware has historical roots in the Pattisons’ shop. As its popularity increased and America grew westward, metal shops and painters developed their own styles and specialty tinware. Museum collections include specific pieces attributed to Connecticut, New York, Pennsylvania, and Maine.
Background colors varied from shop to shop and details and colors defined the styles of each painter.
As an example, Pennsylvania styles were often on red backgrounds and included large, bold strokes of gold, dark blues, dark greens, and white. Maine had a renowned family, the Stevens, producing pieces that were basecoated in black, yellow, and white. Details and smaller flowers help identify these pieces. The Butlers moved from Connecticut to Greenville, New York, in 1799 and began production of finely decorated tinware with elegant borders and every surface embellished. Oliver Filey started in Bloomfield, Connecticut, then opened a branch shop in Elizabeth, New Jersey. As with the other tin companies, the style of this manufacturer was unique. In Vermont and New York, additional styles florished.
Other methods besides Country Painting were used to decorate the tin such as bronze powder stenciling, freehand bronzing, and gold leafing. In this article, however, we will discuss the Country Painting style of decorating. The April issue of PaintWorks will feature a tin tray project painted in both oils and acrylics.
The term tole painting itself is derived from painting tin or tole (the French word for tin). While it was extremely popular in Early America, past original pieces are now mostly in private collections and museums. A resurgence of popularity occurred when Esther Stevens Brazer of the Stevens family of Maine began her research and presented techniques in her book entitled Early American Decoration, first published in 1940. She was instrumental in forming the Historical Society of Early American Decoration (HSEAD). That society remains strong even today, with members faithfully duplicating original patterns and sharpening their skills. Many of the traditional techniques are still employed to add authenticity to the appearance of the old designs.
Today’s trend
Across the United States, members and students of Country Painting techniques continue to keep this fine folk art tradition alive and well. It has been my pleasure to study with a group of such painters in New Hampshire over the past year. My teacher, Sue Ackerman, is a dedicated and sharing instructor, with a 30-year background and collection of patterns. Some of the same students have been with Sue for almost as long as she has been teaching. Their enthusiasm is unparalleled.
As evidenced by the inclusion of the basic tole brushstroke in our decorative painting today, this style has long been revered by serious artists. Products have changed and styles have broadened, but the foundation still remains. Current designs including this foundation have been published by Helen Jeglic in packets and
books. Jo Sonja Jansen and Margaret Weking have developed their own styles, incorporating the basics from Early American decoration. Other contemporary artists have used strokework as borders and frames in their work.
In Esther Stevens Brazer’s book, she states, “A decorator must consider the four following points: First: Decorative design must emphasize construction. Second: A design must fit the space it occupies. This means that long narrow patterns shall be used in long narrow spaces and tall patterns on tall splats or vertical panels. An insignificant design shall not be used on a large or important space. But the decorator shall keep in mind the fact that elaborate designs require a certain amount of plain space about them to set off their beauty. Third: Distribution, emphasis, and scale must be considered. The decoration shall be properly distributed. Fourth: The decorator must make use of contrast to enhance the beauty of form. Thus light colors are most decorative against dark colors, bright colors against neutral backgrounds, and dull shades against brilliant colors.”
Then … the basic tools
Originally, Japan colors in tubes were used, along with oil colors, both transparent and opaque. Turpentine, raw linseed oil, and quills were recommended. Resin varnishes were the only available varnishes. Fast-drying paints were not used and basecoats were allowed to cure for long periods of time.
Asphaltum was a popular background and was applied in varying numbers of coats to produce a color which could range from golden brown to almost black. The lighter asphaltum backgrounds were particularly attractive over shiny metal. Asphaltum is a solution of mineral asphalt in varnish. Since asphaltum never completely dries, its softness causes annoying problems such as scratching easily and lifting or running when additional coats of varnish are applied over the top. Many of the antique pieces I have found over the
years used asphaltum, worn and soiled with time. The finish still felt sticky and stringy when stripped to redecorate. The products are stil.1 available to duplicate this exact background, but much care and aging must be employed to have complete success.
And now … the basic tools
Today, we can closely duplicate the methods and products to reproduce these early designs on antique and garage sale finds or on new metal pieces from various manufacturers. A list of sources for tin, paint, patterns, and miscellaneous other products appears at the end of this article.
Here is an overview of the steps for duplicating heritage Country Painting patterns in a traditional method.
1.Select, clean, and then prime a metal background.
2.Basecoat the surface with desired color.
3.Apply one coat of varnish over the basecoat.
4.Apply the design.
5.Paint the design.
6.Varnish with several protective coats.
7.Either wax surface or rub with oil and pumice.
Begin with the tin “treasure.” If it is new, wash it in vinegar water to remove any traces of preservative oils. Dry completely and proceed to the next step. If it has traces of old paint that is not worth preserving, use a stripper, following manufacturer’s instructions, or take it to a furniture stripper. If you strip the tin yourself, be kind to your lungs and work outdoors. Old pieces begin to rust the moment the protective paint is removed. Be sure to remove all traces of rust with either steel wool, sandpaper, or Naval Jelly, and then coat immediately with a primer.
Years ago, a teacher recommended a solution of Spic and Span household detergent and boiling water called “tin soup” as a method to remove old finishes. It is remarkably successful, but very smelly and should only be done outdoors. Use an old canning boiler, a gas grill, and about one-half cup of Spic and Span to three gallons of water. Bring to a boil and then drop in the tin, turning it in the solution until it is clean and shiny.
To prime the tin, use either a brush-on or a spray-on primer. Again, use care in ventilation. I prefer a spray primer to avoid brush marks. If coverage is even and opaque and the primer is the color you wish to have for a background, you can proceed to covering the primer with varnish. In the event that another color is to be the background color, brush on as many coats of paint as is necessary for smooth, opaque coverage. I prefer an oil-based paint in heritage colors. Use good quality bristle brushes for all basecoating and varnishing.
A quality varnish brush is one of your most important tools. Fine, soft bristles preclude brush marks in the finish. Since a resin-based varnish is recommended, store the varnish brush when not in use by keeping it suspended in turpentine with the bristles touching no surfaces. By doing this, varnish does not dry in the brush and drop little chunks into the finish. I use a glass jar with a hole punched in the lid for the brush handle. At one time, I had a varnish brush that lasted for over ten years by being stored in this manner. It looked like new even after not having used it for four years. With the advent of waterbased varnishes and acrylic painting, I abandoned this technique for a while, but am now back to using it because it is so successful.
Another important tool is extra-fine sandpaper (1000 grit) and two or three tack rags. Tack rags can be stored in covered jars and used again and again for a long period of time if they don’t move from wiping background colors to wiping varnished surfaces. Tin projects are constantly sanded and tacked off between applications of basecoats and finishes. To sand, cut a small piece of sandpaper just large enough to fit under your fingertips. Lightly move fingers in a circular motion, overlapping circles, until entire surface is sanded. Wipe completely with the tack rag.
 After applying your protective varnish and tracing the pattern onto tracing paper, the pattern is applied using lithopone or a very worn piece of white transfer paper (waxless). To use lithopone, a white powder, apply the powder to the back of the tracing paper with a cotton ball. Hold or tape the design in place and carefully transfer the pattern lines with a stylus. Use only a line through the center of a stroke to indicate placement and size rather than tracing the whole stroke outline.
When the pattern is completely transferred, begin to paint the design. Country Painting uses only a few basic colors, such as Cadmium Scarlet, Alizarin Crimson, Prussian Blue, Titanium White, Burnt Umber, Raw Umber, Lamp Black, and Chrome Yellow. The artist oils are thinned with resin-based varnish for a thin, smooth application of both basecoated areas and strokes. At certain times, you can even thin it for a transparent look. As soon as the paint begins to dry on the palette, replace it with fresh paint and varnish. Varnish can be poured from the can into a small container to keep the canned varnish fresh.
Brush selection should include a dagger stripper, a good short and long hair liner brush, a quill (if possible) or a Loew-Cornell Series 7350 liner in several sizes. The quill or liner is used for almost all painting. Use the full width of the brush tip for covering ball flowers, leaves, and strokes. Long, smooth, shapely strokes are used to basecoat flowers and leaves. Occasionally, it takes two coats of the basecoat color (with proper drying time in between) to opaquely cover a specific area. The brush is filled with paint and dressed on the palette to smoothly distribute the paint in the brush before touching surface.
The actual painting is executed in several steps. First, basecoat flowers and leaves. Working while that area is still wet can be tricky, therefore allow to dry overnight and then continue on. Complete over strokes next, and then add striping to finish the
painted area. Since working in steps and allowing drying time is preferable, I generally work on anywhere from two to six pieces of tin at a time.
When all paint is completely dry, remove any evidence of pattern lines, wipe with the tack rag, and apply several coats of varnish. Allow plenty of drying time between coats. If it is a surface that will be used frequently, three to four coats is preferable. Remember to sand and tack between coats.
When the finish has cured, apply a paste wax or rub the surface carefully with a mixture of pumice and oil. This removes the remains of any foreign objects that might have gotten caught in the wet varnish. Wipe the oil and pumice off with an old piece of wool or wool flannel. Then find a place of honor in your home to display and admire your handwork.
Additional patterns and history are available from your local library:
Early American Decoration by Esther Stevens Brazer; How To Paint Trays by Roberta Ray Blanchard; Painting Patterns for Home Decorators by Ruth Wyeth Spears; A Quarter Century of Decorating and Teaching Country Painting by Dorothy Dean Hutchings; Early American Decorating Techniques by Mariette Paine Slayton; American Painted Tinware – A Guide to Its Identification by Gina Martin and Lois Tucker (available in October 1996). Order from HSEAD, Inc., c/o Lois Tucker, P.O. Box 429, North Berwick, ME 03096.

I am truly glad to glance at this website posts which contains lots
of helpful data, thanks for providing these kinds of statistics.
You’re welcome, Salma!
We are glad you can find something useful here!
I truly miss your fantastic magazine here in Canada!
So where do I find the patterns